Using Azure DevOps for WebApp Deployment
This post was originally published by myself in Diversus’ internal knowledge base.

How to deploy a Git .Net project to Azure WebApps.
Please note that the following “Preview Features” (set by clicking on your profile picture in the top right of Azure DevOps) were selected while completing this tutorial:

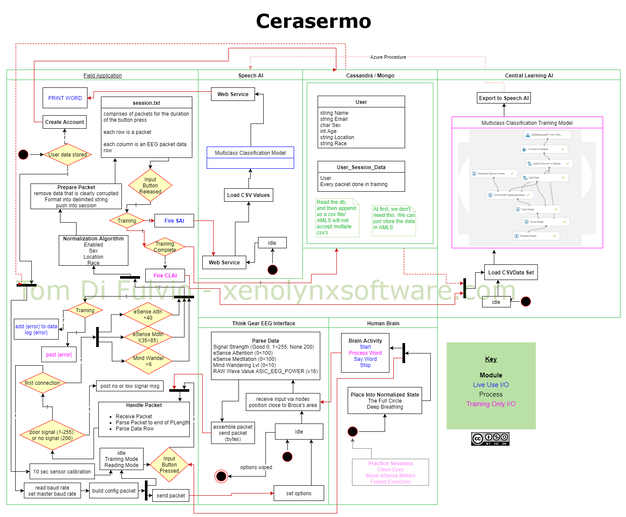
Overall layout
Git source control which when checked in Team City builds. DevOps then retrieves the built package and deploys it to Azure when commanded.
Team City is already configured to build code checked into our Git develop branch, but you can do this in Azure DevOps as well, and use the artifact generated from that.
Step 1
log in with an MSDN account (in this case, I used DevOps). If needed, create a new organization and within your organization, create a new project.
Step 2
Head to the Visual Studio marketplace and get the “TeamCity™ artifacts for Release management” tool. Click the green “Get it free button” and after selecting the appropriate organisation, click “Install”:

Step 3
Back in Azure DevOps, on the Project screen, click on “Project Settings” on the bottom left of the screen, then under “CI/CD” select “Service Endpoints” and add a new service connection. You need to make sure that the account you use to log in here has access to the project in Team City. You can verify the connection on this screen to make sure.

Step 4
Click on “Build and Release” on the left hand main menu and select “Releases”. Select “New Pipeline” and choose the Azure WebApp deployment template.
Step 5
On the flow diagram that has appeared, select “Add an artifact”, expand the source types list, and select Team City. Give the system a few seconds to load the drop down options, and then select your project and your build config.
Step 6
Add your environments to the pipeline and configure each using the publish profile you download from the Azure app on the portal.
Step 7
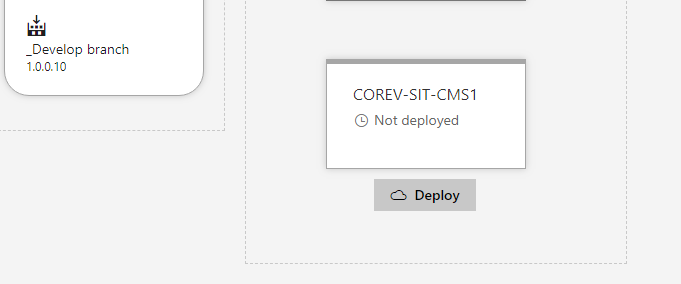
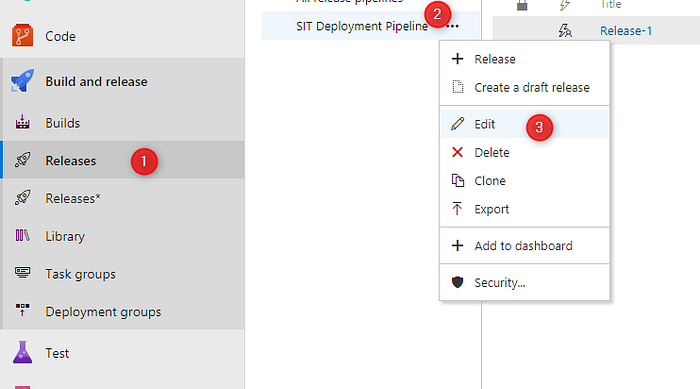
Create a new Release from the pipeline you created in VSTS and then in that release, deploy using the deploy button that appears after hovering on each environment.
To setup variable substitution you will need to use “Replace Tokens”…
Using Slow Cheetah Transforms in Azure DevOps
In Azure DevOps you use the “Replace Tokens” addon to actually change that pattern with the variable name (that we setup in step 1) inside to the value that matches the one in the Variables section of Azure DevOps (That we setup in step 2). This is done by the “Replace Tokens” Addons (step 3).
Step 1
Have your config files inside the solution being transformed by Slow Cheetah for environments that do not use Azure DevOps, such as dev environments. In the root config file, place an easily discernible pattern, such as “#{variableName}#” around the name of the variable you want transformed in Azure DevOps.
For example, you have the variable “BlockBackOffice”, as in the images below. Your transform file looks like this for that section of your relevant config file:

But in your root config file, it should be rigged up for Azure DevOps:

Step 2
In Azure DevOps, have the variables you want to transform recorded under “Variables” in Azure DevOps. The Variables tab is in the pipeline settings:
Having “Settable at release time” will allow you to change the value of the variable just before you deploy from DevOps.

Step 3
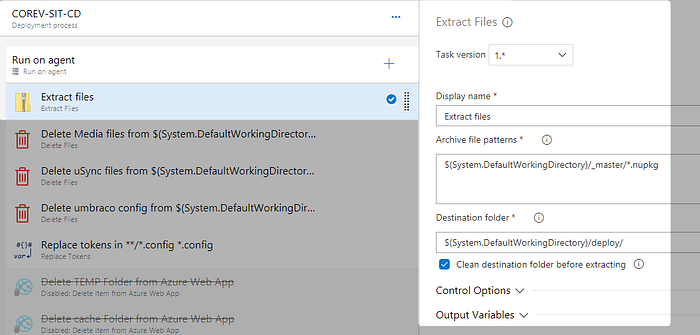
Now in Azure DevOps under your Tasks, you want to extract your NuGet package:
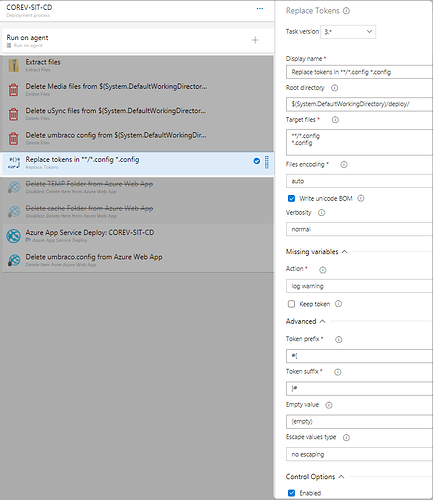
Then add the “Replace Tokens” addon:

Then configure it, remembering to set your Token Prefix and Suffix, and to tick “Enabled”:
Now when you deploy this step will be executed, changing the variables rigged in your root config files to the values you have stored as variables in Azure DevOps for each environment.
Final Deployment Step
You are essentially taking the unzipped NuGet package, with the variables applied, and copying it to you Azure WebApp.
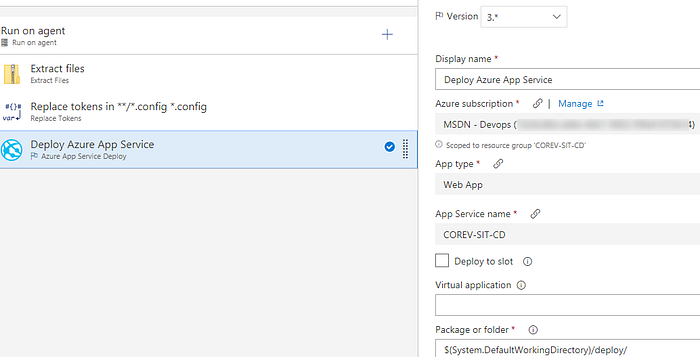
Even though you are using Replace Tokens, you still need to check “XML Variable Substitution” in the Web App deploy step, otherwise deployment fails:

Hopefully this process becomes more streamlined in the future, as Slow Cheetah is unreliable in my opinion, I would look forward to an integrated solution between Visual Studio and Azure DevOps for variable replacement; You should be able to us the same variables defined in DevOps in your local environment, and Visual Studio should be able to retrieve those.
Thanks for reading.